Contents:
- What Are Anemones? Background and Botany Worth Knowing
- Anemone Varieties: Choosing the Right Type for Your Purpose
- For Cut Flowers and Events: Anemone coronaria
- For Garden Borders: Anemone blanda and Anemone x hybrida
- Anemone Growing Guide: Soil, Climate, and Site Requirements
- Soil Preparation
- Light and Temperature
- USDA Zone Planting Calendar
- How to Plant Anemone Corms: Step-by-Step
- Pre-Soaking Corms
- Planting Depth and Spacing
- Succession Planting for Event Timing
- Watering, Feeding, and Care Through the Growing Season
- Watering
- Fertilizing
- Pest and Disease Management
- Growing Anemones in Containers
- How and When to Cut Anemones for Arrangements
- The Right Stage to Cut
- Cutting Tools and Technique
- Post-Harvest Stem Behavior
- Storing and Overwintering Anemone Corms
- Using Anemones in Event Floral Design
- Color Versatility
- Seasonal Availability
- Sourcing Fresh Anemones in the US
- Practical Tips from Experienced Growers
- Use Row Cover for Season Extension
- Don’t Skip Vernalization in Warm Climates
- Plant in Batches, Not All at Once
- Mark Your Rows
- Cut in the Morning
- Anemone Growing Guide: Troubleshooting Common Problems
- Corms Planted But Nothing Emerging After 4 Weeks
- Plants Flower Sparsely or Produce Short Stems
- Flowers Open Too Quickly After Cutting
- Foliage Yellowing Before Bloom
- Frequently Asked Questions About Growing Anemones
- How long does it take for anemones to bloom after planting?
- Can you grow anemones indoors?
- Do anemones come back every year?
- What’s the best way to keep cut anemones fresh longer?
- Where is the best place to buy anemone corms in the US?
- Planning Your Next Steps
Most gardeners assume anemones are finicky, temperamental flowers best left to professionals. That assumption has cost a lot of people some genuinely spectacular blooms. This anemone growing guide cuts through the confusion, covers the real requirements, and gives you the practical knowledge to grow healthy, cut-ready anemones whether you’re planning a wedding, filling a flower bed, or sourcing blooms for a special event.
Anemones are not difficult. They are specific. There’s a difference — and once you understand what they actually need, they reward you generously.
What Are Anemones? Background and Botany Worth Knowing
Anemones belong to the Ranunculaceae family, the same botanical family as buttercups and clematis. The genus Anemone contains over 200 species native to temperate zones across Europe, Asia, and North America. For gardeners and florists, a handful of species dominate: Anemone coronaria (the poppy anemone), Anemone blanda (Grecian windflower), and Anemone x hybrida (Japanese anemone).
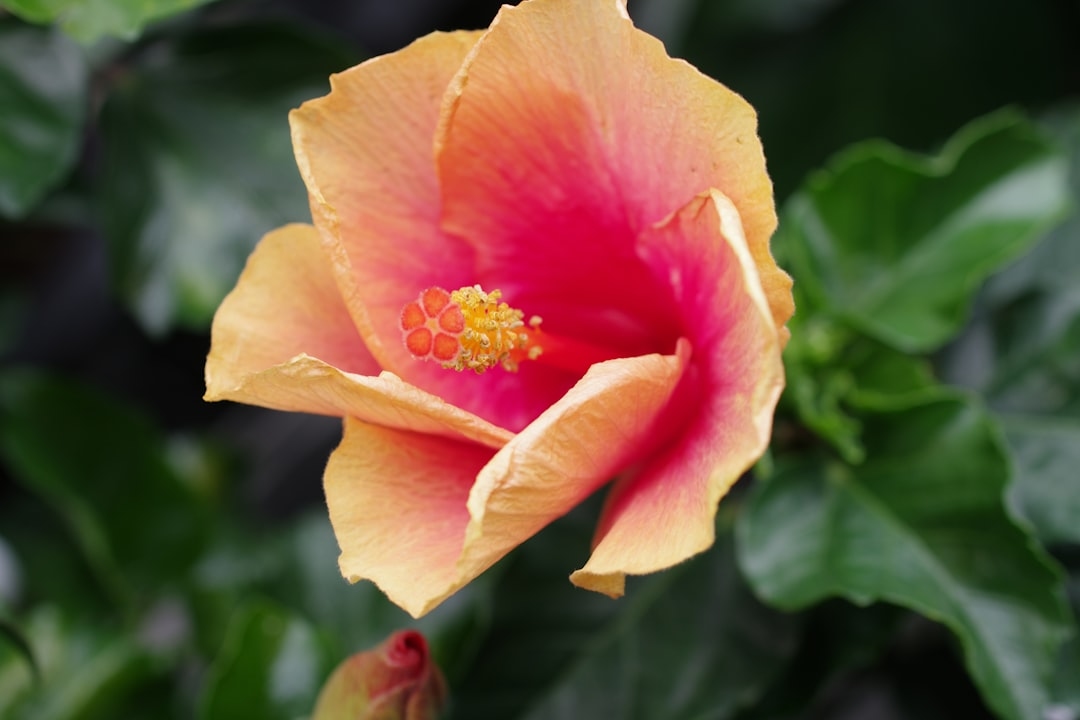
The poppy anemone — A. coronaria — is the star of the cut flower world. Its bold, single blooms in deep red, electric blue, white, and purple, each centered with a dramatic dark boss of stamens, made it a florist’s staple long before peonies and ranunculus took center stage. Cultivar series like ‘De Caen’ (single-flowered) and ‘Meron’ (the professional grower’s workhorse) produce stems 12 to 18 inches long, ideal for arrangements.
Japanese anemones are a completely different use case. They bloom in late summer through fall, reach 2 to 4 feet tall, and spread aggressively via rhizomes. They’re garden plants first, cut flowers second. Knowing which species you’re growing before you plant saves a lot of frustration.
Anemone Varieties: Choosing the Right Type for Your Purpose
Variety selection is the decision that determines everything downstream — bloom time, stem length, color range, and whether you’re cutting flowers or enjoying them in the border. Here are the categories that matter most.
For Cut Flowers and Events: Anemone coronaria
If you’re sourcing or growing anemones for a wedding, dinner party, or any scheduled event, A. coronaria is your flower. The ‘Meron’ series, developed for commercial greenhouse production, produces uniform stems averaging 16 inches. The ‘Mistral’ series is increasingly popular for outdoor production, tolerating rain and variable temperatures better than older varieties.
Color availability in A. coronaria:
- Deep blue/violet — ‘Meron Blue’, ‘Mistral Blue’
- Crimson red — ‘Meron Red’, ‘Galilee Red’
- Pure white — ‘Meron White’, ‘Mistral White’
- Bicolors and blends — ‘Marianne Mix’, ‘Monarch Mix’
- Deep purple — ‘Mr. Fokker’ (a classic De Caen variety)
For event planning, blue anemones are particularly valuable because true blue is rare in the cut flower market. A stem of ‘Meron Blue’ at a wholesale flower market in January can run $1.50–$2.50 per stem, while designer florists in major US cities charge $4–$6 per stem in arrangements. Growing your own, even in modest quantities, changes that math entirely.
For Garden Borders: Anemone blanda and Anemone x hybrida
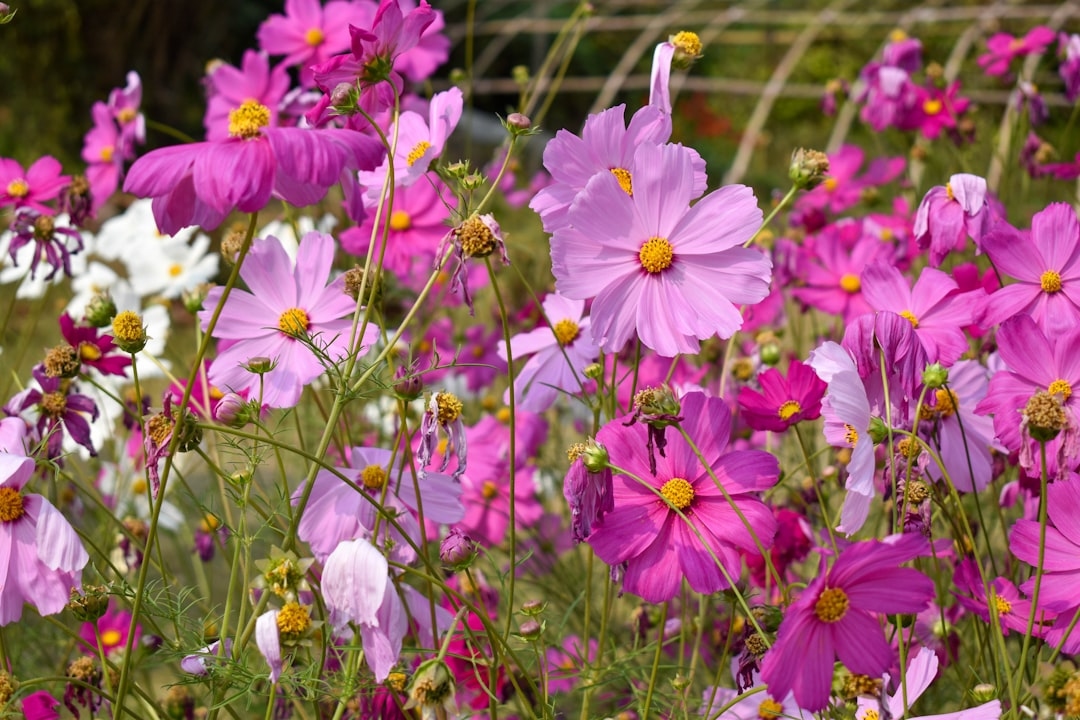
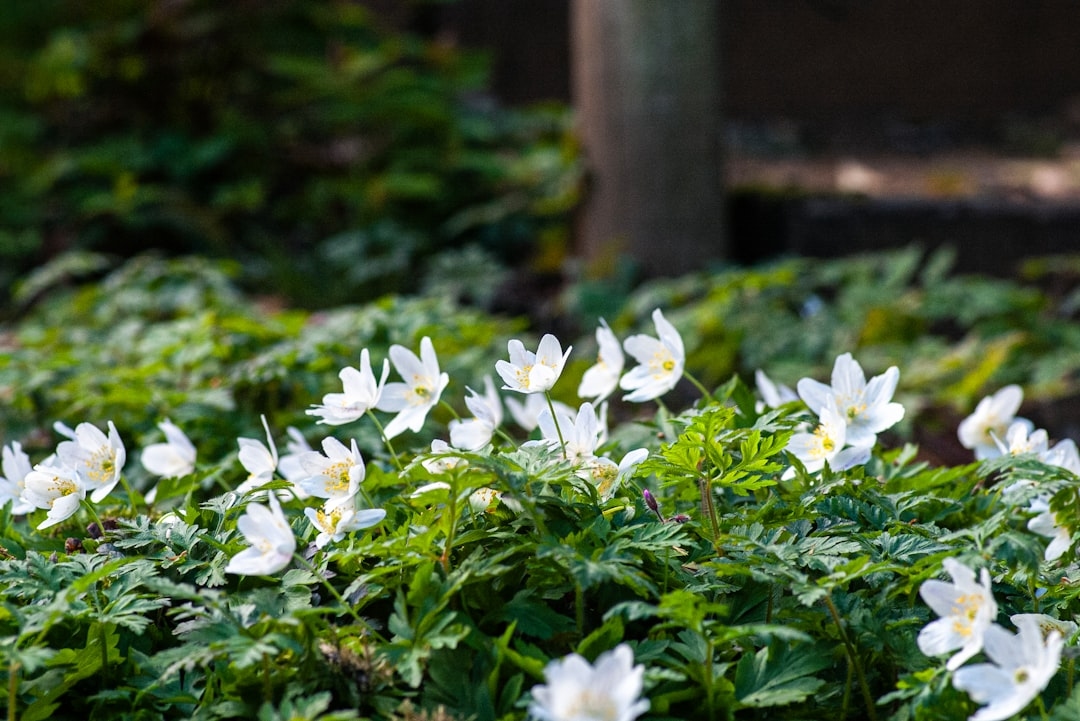
A. blanda blooms in early spring from small, knobbly tubers. At 4 to 6 inches tall, it naturalizes beautifully under deciduous trees, producing daisy-like flowers in pink, white, and blue. It’s not a cut flower — stems are too short — but planted in drifts of 50 or more, it creates the kind of early-spring carpet that makes a garden look considered and intentional.
Japanese anemones (A. x hybrida) like ‘Honorine Jobert’ (pure white, single) or ‘Robustissima’ (pink) fill the awkward late-season gap from August through October. They’re technically perennials in USDA zones 4–8. Once established, they’re nearly impossible to eradicate — which is either a feature or a problem depending on your garden layout.
Anemone Growing Guide: Soil, Climate, and Site Requirements
Getting the site right is non-negotiable. Anemones are Mediterranean in origin — A. coronaria grows wild across the hillsides of Israel, Turkey, and southern Europe. They evolved in conditions with cool, wet winters and hot, dry summers. Replicating that rhythm, even loosely, is the key to vigorous growth.
Soil Preparation
Anemone corms demand excellent drainage above everything else. Waterlogged soil causes corm rot within days, and that’s not recoverable. Amend heavy clay soils with coarse horticultural grit (at least 20–30% by volume) and compost before planting. Target a soil pH of 6.0–7.0. A sandy loam with good organic content is ideal.
For raised beds — which many serious anemone growers use — a mix of 60% quality topsoil, 30% compost, and 10% perlite or coarse grit performs reliably. Raised beds also warm faster in spring, which advances bloom time by 1–2 weeks compared to in-ground planting in the same location.
Light and Temperature
Full sun to partial shade. In hot climates (USDA zones 8–10), afternoon shade extends the bloom season significantly by keeping soil temperatures below the 65°F threshold that triggers dormancy. In zones 4–7, full sun is preferable to maximize the shorter cool season.
A. coronaria corms are cold-hardy to about 10°F (-12°C), placing them solidly in zones 7–10 for year-round outdoor cultivation. In zones 5–6, they can overwinter with a 3–4 inch mulch layer of straw. In zones 4 and colder, treat them as annuals or dig and store corms after foliage dies back.
USDA Zone Planting Calendar
- Zones 8–10: Plant corms October through December for blooms January through April
- Zones 6–7: Plant corms September through October for blooms March through May
- Zones 4–5: Plant corms in spring, 4–6 weeks before last frost, for late spring/early summer blooms
The critical insight here: anemones bloom roughly 90 days after planting. If you’re planning flowers for a May wedding, count back 90 days and plant in early February — indoors in cold climates, outdoors in zones 8–10. That 90-day window is reliable enough to schedule around.
How to Plant Anemone Corms: Step-by-Step
Anemone corms are small, flat, and irregular — they look like shriveled raisins, and new growers often mistake them for debris. They’re not intuitive to plant, which contributes to the myth that anemones are difficult.
Pre-Soaking Corms
Dry corms are dormant and slow to establish. Soaking them in room-temperature water for 2–4 hours before planting rehydrates the tissue and accelerates root initiation by approximately 5–7 days. Some growers extend soaking to 8 hours; beyond that, there’s risk of anaerobic conditions beginning to affect the corm. Two to four hours is the practical sweet spot.
After soaking, the corms will plump noticeably. Look for a slightly pointed end — that’s the top. If you genuinely cannot identify a top, plant them on their sides. Anemones are resourceful; they’ll find their way up.
Planting Depth and Spacing
Plant corms 2–3 inches deep, pointed side up (or on their side if orientation is unclear). Spacing of 4–6 inches apart works for cut flower production where density is prioritized. For garden display, 6–9 inches gives each plant room to develop a full, branching habit.
In a 4×8 foot raised bed, you can fit approximately 80–100 corms at 4-inch spacing. At a succession planting rate of one flat (100 corms) every 2–3 weeks, a dedicated anemone bed can provide near-continuous bloom from January through May in zone 8, or March through June in zone 6.
Succession Planting for Event Timing
This is the professional grower’s technique that home gardeners rarely use — and it’s genuinely useful. Rather than planting all corms at once, stagger plantings every 2–3 weeks. Each batch blooms approximately 90 days later. If you need peak bloom for a specific date, plant your main batch 90 days out, a backup batch 80 days out, and an insurance batch 100 days out. You’ll have blooms before, during, and after your target date, which covers for weather variability.
Sarah M., a home gardener in Portland, Oregon, used exactly this approach for her daughter’s backyard wedding in April 2026. She planted three batches of ‘Meron Mix’ corms starting in late December — 100 corms per batch, two weeks apart. “The first batch peaked just before the event, the second was perfect on the day, and the third gave us flowers for the centerpiece teardown photos a week later,” she said. “We cut probably 180 stems total and spent maybe $40 on corms.”
Watering, Feeding, and Care Through the Growing Season
Established anemones need less intervention than most flowering plants, but they have specific sensitivities that are worth respecting.
Watering
Water at planting to settle the soil, then hold off until green growth appears — typically 2–3 weeks after planting in cool soil. Once growing, anemones prefer consistent moisture without saturation. In well-draining soil, watering deeply once or twice per week is usually sufficient. In clay-amended beds, stretch that to every 7–10 days and monitor carefully for standing water.
Reduce watering once foliage begins to yellow and die back in late spring or early summer. This signals the plant entering dormancy, and continued irrigation at that point encourages rot. Stop watering entirely once foliage is fully dead.
Fertilizing
A low-nitrogen, high-phosphorus fertilizer supports root development and bloom production without pushing excessive leafy growth. A 5-10-10 or 4-12-12 formula applied at planting, worked into the top 4 inches of soil at a rate of 1–2 tablespoons per square foot, provides the foundation. Supplement with a liquid feed at half-strength (a balanced 10-10-10 or fish emulsion) once every 3 weeks during active growth.
Avoid high-nitrogen fertilizers after corms are planted. Nitrogen pushes lush foliage at the expense of flower production — the opposite of what you want.
Pest and Disease Management
Anemones face a fairly short list of problems when sited correctly:
- Downy mildew: Appears as yellow patches on upper leaf surfaces, gray fuzz beneath. Improve air circulation and avoid overhead watering. Remove affected foliage promptly.
- Aphids: Cluster on new growth and flower buds. A strong jet of water dislodges most colonies. Neem oil or insecticidal soap handles persistent infestations.
- Slugs: Particularly damaging to emerging corm shoots in early spring. Iron phosphate bait (Sluggo) is effective and safe around other plants and wildlife.
- Botrytis (gray mold): Thrives in cool, damp conditions with poor air circulation. Space plants adequately and avoid handling wet foliage.
Root rot from overwatering is the leading cause of anemone failure. It’s not a pest — it’s a drainage problem. Address drainage before you address anything else.
Growing Anemones in Containers
Container growing opens up anemone cultivation to gardeners without in-ground beds, apartment balconies, and anyone who wants precise control over soil conditions. It works well with some specific adjustments.
Use a container at least 10 inches deep to accommodate root development. Shallow pots lead to heat stress and poor anchoring. A standard 12-inch nursery pot accommodates 8–10 corms comfortably. Terracotta is preferable to plastic in cool climates because it breathes — but in zones 8–10 winter heat, plastic retains moisture better between waterings.
Potting mix should be fast-draining. A commercial mix blended with 25% perlite by volume works reliably. Add a slow-release fertilizer (like Osmocote 14-14-14) at half the label rate at planting. Containers dry out faster than garden beds, so check moisture every 2–3 days during active growth rather than once a week.
One practical advantage of containers: you can move them. In a hard freeze, bring pots into an unheated garage or shed. When bloom opens, position them exactly where you need them — a front step, a wedding ceremony focal point, a tabletop.
How and When to Cut Anemones for Arrangements
Cutting technique directly affects vase life. Anemones cut correctly can last 7–10 days in fresh water. Cut incorrectly — too early, too late, or with the wrong tool — and you’re looking at 3–4 days before collapse.
The Right Stage to Cut
“Cut anemones when the bud is just showing color but still slightly closed — what we call the ‘marshmallow’ stage,” says Dana Kowalski, certified floral designer and flower farm owner in Sonoma County, California. “A fully open bloom looks gorgeous on the plant, but it’s already spent half its vase life. At the marshmallow stage, it opens beautifully in the vase over 24–36 hours and holds much longer.”
The marshmallow stage is when the sepals have separated and color is visible but the flower face isn’t yet fully expanded. The center of the bloom — the dramatic dark eye — should not yet be fully exposed. If the stamens are fully visible and the petals are flat and wide, you’ve waited too long for optimal vase life, though the flower is still usable.
Cutting Tools and Technique
Use clean, sharp scissors or florist snips — not garden shears, which crush the stem rather than cutting it. Make cuts at a 45-degree angle in the early morning or late evening when stem turgor is highest. Immediately plunge cut stems into a bucket of cool water (not ice cold — room temperature is closer to what they’ve experienced in the ground). Allow them to condition in water for at least 2–4 hours before arranging.
Change the water in your vase every 2 days. Anemones are particularly sensitive to bacterial buildup in the water. Adding a commercial flower food (which typically contains a biocide, a sugar, and an acidifier) at the recommended rate measurably extends vase life by 2–3 days compared to plain water.
Post-Harvest Stem Behavior
One trait that surprises new anemone growers: cut stems continue to grow. Anemone stems can elongate by 2–4 inches after cutting, which means an arrangement that looks balanced today may look top-heavy tomorrow. Account for this when designing. Either cut stems shorter than you think you need to, or use a vase or vessel with a narrow neck that constrains the movement.
Stems also follow light — they’re phototropic. An arrangement in a room with strong directional light will lean noticeably within 24 hours. Rotate the vase or place it in even light to keep arrangement symmetry.
Storing and Overwintering Anemone Corms
In zones 4–6, corms need to be lifted and stored after the growing season. In zones 7–10, they can often stay in the ground, though lifting and storing gives you more control over quality and allows bed rotation.
Wait until foliage has completely died back before digging — this ensures the corm has absorbed maximum energy reserves for dormancy. Lift corms gently with a hand fork, shake off excess soil, and allow them to dry in a single layer in a shaded, well-ventilated space for 1–2 weeks.
Store dried corms in a paper bag or mesh bag (never plastic — it traps moisture) with a handful of dry peat moss or vermiculite. Keep at 40–50°F in a location with good air circulation. A basement shelf, an unheated closet, or a garage that stays above freezing works well. Check monthly and discard any corms showing soft spots or mold.
Stored correctly, anemone corms remain viable for 2–3 years, though vigor declines slightly each year. Most professional growers use fresh corms annually for maximum uniformity and stem quality. For home gardeners, first-year-stored corms perform nearly as well as new ones in most cases.
Using Anemones in Event Floral Design
Anemones are one of the most versatile flowers in event design, and they’re significantly underused compared to their quality and visual impact. Several qualities make them particularly valuable for planned events.
Color Versatility
The deep, saturated colors of A. coronaria — particularly the navy blues and near-blacks of varieties like ‘Meron Blue’ and ‘Galilee Black’ — are nearly impossible to source in other affordable cut flowers. They work in both romantic, garden-style arrangements (paired with garden roses, ranunculus, and sweet peas) and in modern, graphic designs where bold color contrast is the goal.
White anemones with their black centers photograph beautifully — the contrast reads clearly even in soft light, making them a reliable choice for ceremony and reception flowers that will be heavily photographed.
Seasonal Availability
In the US market, anemones are a late fall through spring flower. Peak domestic availability runs November through April. Summer anemones exist but require cold storage manipulation and command premium prices. If you’re planning a spring event (March–May), anemones are near peak availability and near lowest price. For a summer event, factor in higher wholesale costs or grow your own from succession plantings with a spring greenhouse start.
Sourcing Fresh Anemones in the US
For event quantities, these are the main channels:
- Wholesale flower markets: Available in major cities (Los Angeles, Miami, New York, Chicago, Seattle). Typically require a business account, but many markets allow direct public purchase. Expect to buy by the bunch (10 stems per bunch) with minimum orders of 10–20 bunches.
- Online wholesale platforms: FiftyFlowers, Mayesh, and BloomsByTheBox serve direct-to-consumer and small event needs. Anemones ship overnight from California, Florida, or Colombia. Prices run $1.50–$3.00 per stem for standard colors, $2.50–$4.00 for specialty colors.
- Local flower farms: The Local Bloom Network and ASCFG (Association of Specialty Cut Flower Growers) directories list small farms selling direct. Quality is often exceptional and lead times are shorter than imported product.
Practical Tips from Experienced Growers
These are the adjustments that separate reliable results from inconsistent ones.
Use Row Cover for Season Extension
In zones 6–7, a single layer of floating row cover (Agribon AG-19 or similar) over newly planted beds raises soil temperature by 4–8°F and provides frost protection down to approximately 26°F. This allows October planting where uncovered beds might not survive, pushing bloom time earlier into spring when demand and prices are highest.
Don’t Skip Vernalization in Warm Climates
In zones 9–10, A. coronaria corms benefit from cold treatment before planting to simulate the winter they’d experience in their native range. Refrigerate dry corms at 38–42°F for 4–6 weeks before planting. Without this vernalization, corms in consistently warm climates may produce foliage but flower erratically or not at all.
Plant in Batches, Not All at Once
Even if you’re not planning for a specific event, succession planting extends your cutting season by 6–8 weeks compared to a single planting. With two or three batches staggered 2–3 weeks apart, you maintain a continuous supply rather than experiencing a single peak followed by a gap.
Mark Your Rows
Anemone corms take 2–3 weeks to show any green above soil, and they don’t mark their own territory. Label rows clearly and avoid overwatering while you’re waiting for emergence — the temptation to water more when nothing appears is exactly the wrong instinct.
Cut in the Morning
Stems cut in the early morning, before heat builds, have higher water content and better turgor than afternoon-cut stems. In trials by commercial cut flower farms, morning-cut stems typically outperformed afternoon-cut stems by 1–2 days in measured vase life. It’s a small change with a measurable return.
Anemone Growing Guide: Troubleshooting Common Problems
Even well-managed anemone beds hit problems. Here’s a practical diagnostic for the issues that come up most frequently.
Corms Planted But Nothing Emerging After 4 Weeks
Check soil temperature first. Anemone corms won’t germinate reliably in soil below 40°F. If soil temperature is adequate, excavate one corm carefully and check for rot (soft, discolored tissue) or dehydration (still completely shriveled with no root development). Rot means drainage needs addressing. Dehydration means soaking before planting wasn’t done or corms were too old. In most cases, patience is the answer — 3 to 4 weeks is normal, 5 to 6 weeks is sometimes necessary in cool soil.
Plants Flower Sparsely or Produce Short Stems
Two main causes: insufficient phosphorus or planting too late in the season. Short stems often mean the plant moved quickly through its growth phase because soil temperature rose faster than expected. In future plantings, plant 2 weeks earlier. Sparse flowering often points to low fertility — a phosphorus boost (superphosphate or bone meal worked into the planting area) at the next planting addresses this.
Flowers Open Too Quickly After Cutting
This usually means flowers were cut too late (already past the marshmallow stage) or conditioning water was too warm. Use cool water (55–60°F) for conditioning, keep conditioned stems away from direct sun and heat sources, and cut earlier in the bud stage. Also check whether ethylene exposure is a factor — ripening fruit, vehicle exhaust, or cigarette smoke produce ethylene, which accelerates flower aging dramatically.
Foliage Yellowing Before Bloom
If foliage yellows while plants are still in bud, check for consistent moisture and nitrogen levels. A one-time application of a balanced liquid fertilizer at half strength (following package directions) usually resolves the issue. If yellowing is accompanied by wilting despite moist soil, suspect root rot and investigate drainage immediately.
Frequently Asked Questions About Growing Anemones
How long does it take for anemones to bloom after planting?
Anemone corms typically take 85 to 100 days from planting to first bloom when soil temperatures remain between 45–55°F. In warmer conditions (soil above 60°F), growth accelerates and blooms may appear in 70–80 days, though stems tend to be shorter. Use the 90-day estimate as a reliable baseline for scheduling event flowers.
Can you grow anemones indoors?
Yes, in containers under grow lights or in a bright, cool sunroom. Anemones need at least 14–16 hours of light per day indoors to bloom properly. Soil temperature should stay between 45–60°F — standard heated indoor environments (68–72°F) are too warm and will push the plant to dormancy before adequate blooming. A cool basement window or unheated sunporch is more suitable than a typical living room.
Do anemones come back every year?
It depends on the species and your climate. Anemone coronaria (poppy anemone) is perennial in USDA zones 7–10 and may return for 2–3 years with proper dormancy. In zones 4–6, treat it as an annual or lift and store corms each fall. Japanese anemone (A. x hybrida) is a true perennial in zones 4–8 and spreads aggressively. Anemone blanda naturalizes reliably in zones 4–8 and returns each spring.
What’s the best way to keep cut anemones fresh longer?
Cut stems at the marshmallow stage (bud just showing color, not fully open) in the early morning. Condition in cool water (55–60°F) for 4 hours before arranging. Use a clean vase with commercial flower food, change water every 2 days, keep the arrangement away from direct heat and sunlight, and store overnight in a cool room (55–60°F) if possible. These practices together can extend vase life to 10 days for freshly cut stems.
Where is the best place to buy anemone corms in the US?
For home quantities (under 100 corms), reputable mail-order sources include Colorblends, Brent and Becky’s Bulbs, and Easy to Grow Bulbs. For grower quantities (500+ corms), Dutch bulb importers like Van Engelen and Holland Bulb Farms offer bulk pricing that brings cost to $0.25–$0.50 per corm. For fresh-cut flowers rather than growing your own, Mayesh Wholesale Florist and BloomsByTheBox ship event quantities direct.
Planning Your Next Steps
Anemones reward planners. Unlike many cut flowers, they operate on a predictable 90-day schedule from corm to cut stem — which makes them one of the most schedulable flowers you can grow for a specific date. The investment in quality corms, proper drainage, and succession timing pays back in stems that rival what you’d spend $3–$5 each on at a florist.
If you’re planning an event and want your own flowers, start with a single 100-corm flat of ‘Meron Mix’ in a raised bed or large containers. Time your planting 90 days before your event date, pre-soak corms, plant at 4-inch spacing, and cut at the marshmallow stage. That single flat, managed well, can yield 80–100 usable cut stems — enough for 8–10 substantial mixed arrangements at a fraction of the retail cost.
For gardeners without a specific event in mind, plant ‘Mr. Fokker’ for deep violet, ‘Meron White’ for classic drama, and a handful of Anemone blanda under a deciduous tree for early spring ground cover. Between the three, you’ll have flowers from February through May and a garden bed that looks like someone knew exactly what they were doing.