Contents:
- What Are Dahlias? A Quick Background
- Dahlias vs. Begonias: Clearing Up a Common Confusion
- Choosing the Right Dahlia Tubers: What to Look For
- Where to Buy Dahlia Tubers
- Evaluating Tuber Quality
- Selecting Varieties for Your Goals
- The Complete Dahlia Growing Guide: Planting Step by Step
- Timing: When to Plant Dahlia Tubers
- Choosing and Preparing Your Planting Site
- How to Plant Dahlia Tubers
- Caring for Dahlias Through the Growing Season
- Watering: The Goldilocks Principle
- Fertilizing for Maximum Blooms
- Pinching and Disbudding: The Techniques That Transform Your Plants
- Deadheading and Cutting: Keeping Blooms Coming
- Pest and Disease Management
- How to Overwinter Dahlia Tubers Successfully
- When and How to Dig Dahlia Tubers
- Dividing Dahlia Tubers: The Critical Step Most Beginners Skip
- Storage Methods and Conditions
- Inspecting and Preparing Stored Tubers for Spring Replanting
- Growing Dahlias in Containers: A Practical Option for Small Spaces
- Common Dahlia Problems and How to Fix Them
- Tubers Rotting in the Ground
- Plants Are Tall but Producing No Flowers
- Stems Collapsing or Flopping Over
- Leaves Yellowing Mid-Season
- Frequently Asked Questions About Growing Dahlias
- How deep should I plant dahlia tubers?
- When do dahlias bloom?
- Can I leave dahlia tubers in the ground over winter?
- Why won’t my dahlia tubers sprout?
- How do I get more tubers from my dahlia plants?
- Building Your Dahlia Collection Year After Year
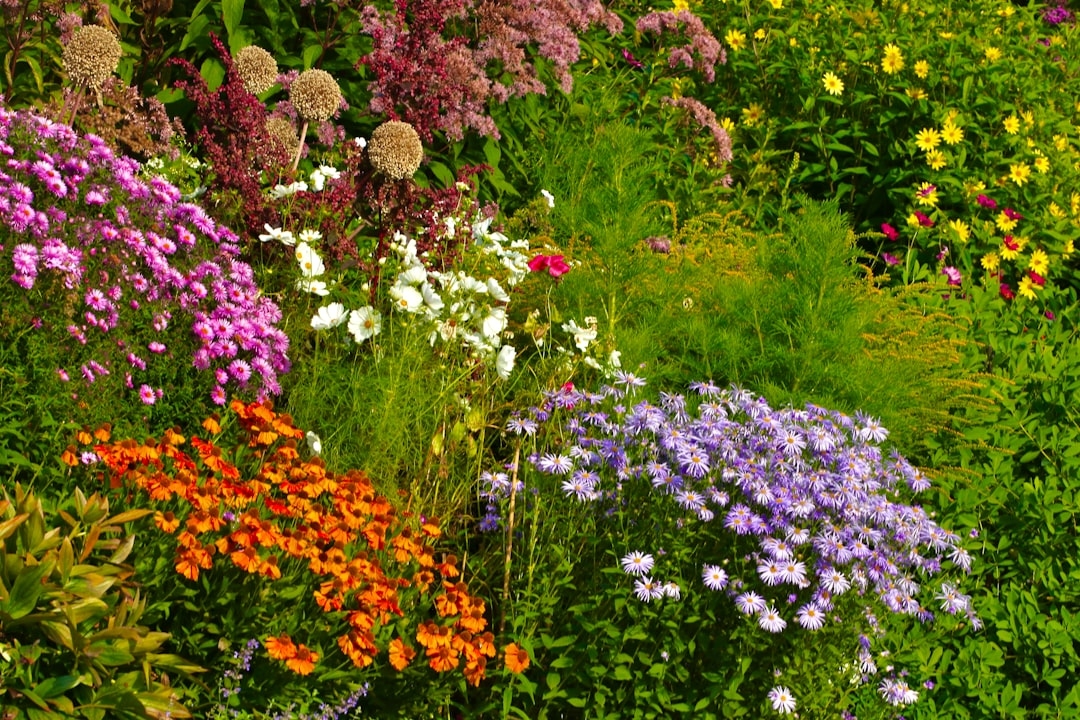
Most gardeners assume dahlias are fussy, fragile flowers reserved for experienced horticulturists with greenhouses and complicated routines. That reputation is almost entirely undeserved. Dahlias are, in fact, among the most rewarding plants a beginner can grow — forgiving, fast-growing, and capable of producing dinner-plate-sized blooms that stop neighbors mid-stride. This dahlia growing guide covers everything you need to know: from selecting and planting tubers to keeping those blooms coming all summer, and safely storing your tubers through winter so you can do it all again next year.
What Are Dahlias? A Quick Background
Dahlias are tuberous perennials native to the highlands of Mexico and Central America, where they grow in well-drained volcanic soils at elevations between 3,000 and 9,000 feet. The Aztecs cultivated them for food and ceremonial use long before Spanish explorers brought them to Europe in the late 1500s. Today, the American Dahlia Society recognizes over 20 official flower forms — from the tight pompons of ball dahlias to the shaggy, spidery petals of cactus varieties — and thousands of named cultivars exist worldwide.
Despite their exotic origins, dahlias thrive across most of the continental United States. They grow as true perennials in USDA Hardiness Zones 8–11, where tubers can stay in the ground year-round. Everywhere else — Zones 3 through 7 — they’re treated as tender perennials: planted each spring after the last frost, dug up each fall, and stored through winter. Understanding this basic life cycle is the single most important foundation for growing dahlias successfully.
The plant produces a cluster of tubers underground, similar in shape to a sweet potato. Each tuber stores carbohydrates and moisture that fuel the plant’s early growth. Unlike bulbs (which are a single swollen leaf base), tubers are modified stems with distinct “eyes” — small growth nodes located at the neck, where the tuber connects to the main stalk. No eye, no sprout. This distinction matters enormously when you’re dividing and planting, as you’ll see below.
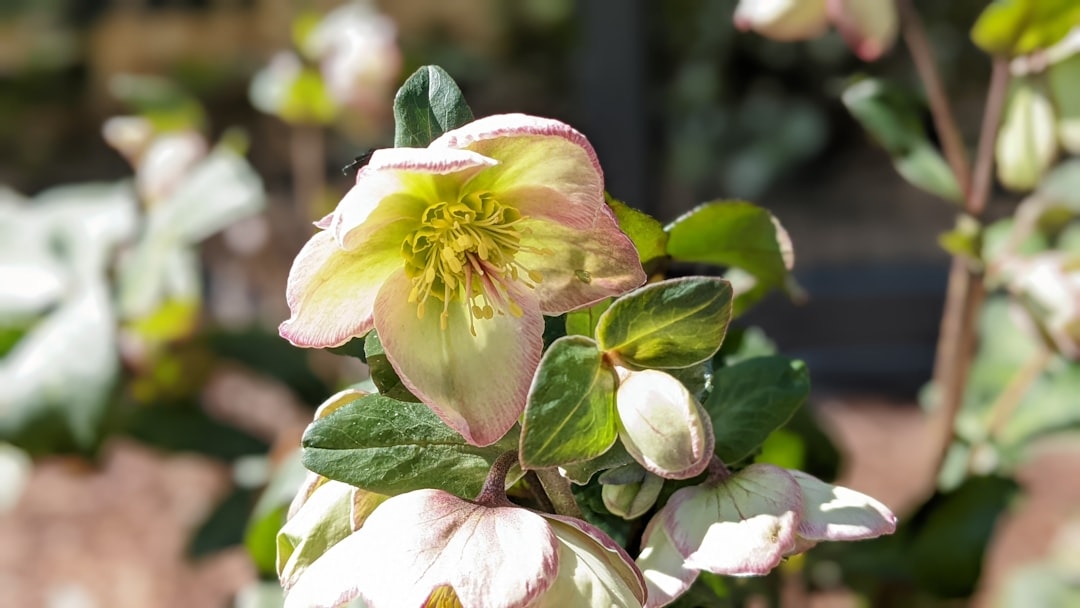
Dahlias vs. Begonias: Clearing Up a Common Confusion
New gardeners frequently mix up dahlias and tuberous begonias at the garden center. Both are sold as tubers in spring, both produce showy summer flowers, and both need to be dug up in fall in most US climates. The differences, however, are significant and affect how you grow each one.
Tuberous begonias prefer partial to full shade and consistently moist, humid conditions — they’re ideal for north-facing patios and woodland gardens. Dahlias are the opposite: they demand full sun (at least 6–8 hours daily) and well-drained soil. Plant a dahlia in a shady spot and you’ll get leggy stems, sparse flowers, and a plant that’s highly vulnerable to powdery mildew.
Size is another giveaway. Begonia tubers are typically flat and disc-shaped, almost like a hamburger patty. Dahlia tubers are elongated and finger-like, clustered around a central crown. At planting time, begonia tubers go just barely below the soil surface with the hollow, concave side facing up. Dahlia tubers go 4–6 inches deep with the neck and eye pointing upward. Mix these up and you’ll have a frustrating, flowerless summer.
Choosing the Right Dahlia Tubers: What to Look For
You can start dahlias from seed, cuttings, or tubers. For beginners, tubers are by far the most reliable starting point. They contain stored energy that powers early growth, they bloom faster than seed-grown plants (often 8 weeks after planting versus 4–5 months from seed), and they reliably produce plants identical to the parent variety — something seeds cannot guarantee.
Where to Buy Dahlia Tubers
Specialty dahlia nurseries offer the widest selection and typically ship tubers in late winter through spring, timed to your growing zone. Reputable US sources include Swan Island Dahlias in Canby, Oregon (one of the largest dahlia farms in the country), Clearview Dahlias, and Corralitos Gardens. Big-box garden centers carry tubers too, but selection is limited and storage conditions aren’t always ideal — check carefully before buying.
Expect to pay between $3 and $8 for common varieties at hardware stores, and $10–$25 or more per tuber for rare or specialty cultivars from dedicated growers. That price difference is usually worth it: specialty tubers are properly labeled, stored correctly, and often larger and more vigorous.
Evaluating Tuber Quality
A healthy dahlia tuber should feel firm and plump, like a fresh carrot — not shriveled, not mushy. Avoid any tuber with soft spots, which indicate rot, or ones that look completely desiccated (though mild shriveling from proper cold storage is acceptable). Most critically, look for at least one visible eye. Eyes appear as small pink or cream-colored bumps at the neck — the narrow end where the tuber attaches to the crown. Some tubers arrive with eyes that haven’t yet swollen into visibility; these can still sprout, but they’re higher risk for beginners. When in doubt, choose a tuber with a clearly visible eye.
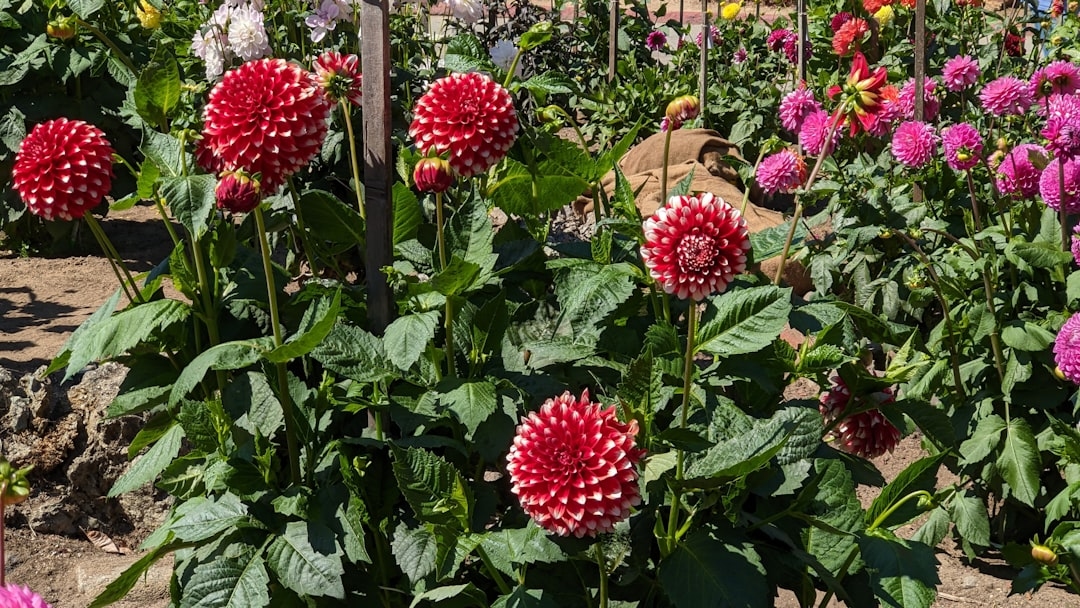
Selecting Varieties for Your Goals
Dahlia size classifications run from “mignon” singles (under 2 inches across) to “AA” giant decoratives (over 10 inches). For a first-time grower, mid-sized varieties in the 4–8 inch range — ball dahlias, waterlily forms, and medium decoratives — tend to be easier to manage and less susceptible to wind damage than the massive dinner-plate types. For cut flowers, look for varieties with strong, long stems: ‘Café au Lait’ (a beloved blush-pink decorative), ‘Bishop of Llandaff’ (red with dark foliage), and ‘Thomas Edison’ (deep purple) are perennial favorites in US cutting gardens.
The Complete Dahlia Growing Guide: Planting Step by Step
Timing: When to Plant Dahlia Tubers
The cardinal rule: dahlias go in the ground only after your last frost date has passed and soil temperatures have reached at least 60°F. Tubers sitting in cold, wet soil will rot before they sprout. In the US, this typically means:
- Zone 3–4 (Minnesota, North Dakota): Late May to early June
- Zone 5–6 (Chicago, Denver, mid-Atlantic): Early to mid-May
- Zone 7 (Virginia, northern California): Mid-April to early May
- Zone 8+ (Texas, Pacific Northwest coast, Florida): March to April
If you want to get a head start, pot tubers indoors in containers 4–6 weeks before your outdoor planting date. Use a fast-draining potting mix, keep the soil barely moist (overwatering at this stage is the number one beginner mistake), and place the pot in a warm spot — around 65–70°F — until sprouts appear.
Choosing and Preparing Your Planting Site
Dahlias need a minimum of 6 hours of direct sun daily; 8 hours is better. Morning sun is preferable in hot climates like the American South and Southwest, as afternoon shade reduces heat stress and helps blooms last longer. Avoid low-lying areas where water pools after rain — standing water is a death sentence for tubers.
Prepare the bed by loosening soil to a depth of 12 inches and working in 2–4 inches of compost. Dahlias perform best in slightly acidic soil with a pH of 6.5–7.0. If you’re not sure of your soil pH, a basic test kit from a garden center costs under $15 and gives you results in minutes. Sandy soils drain too fast and dry out quickly; clay soils drain too slowly. Both benefit from generous compost amendment.
How to Plant Dahlia Tubers
- Dig a hole 6–8 inches deep — deeper for larger varieties.
- Set a stake now, before planting, if you’re growing tall varieties (over 3 feet). Trying to stake after the plant has grown risks spearing a tuber.
- Place the tuber horizontally in the hole with the eye (the growth node at the neck) pointing upward. The tuber body angles downward; the eye points toward the sky.
- Cover with 2–3 inches of soil, not the full depth of the hole yet. As the sprout grows and emerges, backfill gradually.
- Do not water immediately after planting unless your soil is bone dry. The tuber contains enough moisture to begin sprouting. Watering a cold, unsprouted tuber in cool soil almost always leads to rot.
Spacing depends on variety size: small dahlias (under 2 feet tall) can go 12 inches apart; medium varieties need 18–24 inches; large dinner-plate types should have 3 feet of clearance in every direction. Crowded dahlias compete for nutrients, develop poor air circulation (leading to disease), and produce fewer, smaller blooms.
Caring for Dahlias Through the Growing Season
Watering: The Goldilocks Principle
Until sprouts emerge — typically 2–4 weeks after planting, depending on soil temperature — hold off on supplemental watering unless conditions are exceptionally dry. Once the plant is actively growing, dahlias need about 1–2 inches of water per week. Deep, infrequent watering encourages deeper root growth and is far more effective than a daily light sprinkle. Water at the base of the plant, not overhead; wet foliage in the evening creates ideal conditions for powdery mildew.
During heat waves above 90°F, dahlias may temporarily stop blooming — a process called “heat dormancy.” This is normal. Keep watering consistently and the plant will resume flowering when temperatures moderate.
Fertilizing for Maximum Blooms
Dahlias are heavy feeders, but they need the right nutrients at the right time. The common mistake is over-applying nitrogen, which produces lush, dark green foliage at the expense of flowers. Follow this schedule:
- At planting: Work a low-nitrogen, high-phosphorus fertilizer (such as a 5-10-10 or bone meal) into the soil to support tuber development and root establishment.
- Once plants reach 12 inches tall: Begin feeding every 3–4 weeks with a balanced fertilizer (10-10-10) or one slightly higher in potassium (like a 5-10-15) to promote blooming.
- Stop fertilizing by late August in most zones. Late-season nitrogen pushes new vegetative growth that won’t have time to mature before frost — wasted energy that could otherwise go into bulking up the tubers for storage.
Pinching and Disbudding: The Techniques That Transform Your Plants
Pinching is the single most impactful technique most beginners skip — and the one that makes the biggest difference in plant performance. When your dahlia reaches 12–16 inches tall and has at least 3–4 sets of leaves, pinch out the central growing tip (the apical bud) just above a leaf node. This removes the dominant terminal bud that would otherwise suppress lateral branching. The result: instead of one central stem, you get 4–6 lateral branches, each capable of producing its own flowers. That’s potentially six times the bloom count from a single pinching.
Disbudding is a separate technique used by exhibitors and serious cut-flower growers. Each dahlia stem produces a central bud flanked by two smaller side buds. If you remove the two side buds when they’re still tiny — leaving only the central bud — the plant channels all its energy into that one bloom, producing a single, larger, exhibition-quality flower. If you want maximum flower count rather than maximum flower size, skip disbudding and let all three buds develop.
Deadheading and Cutting: Keeping Blooms Coming
Dahlias bloom continuously from midsummer until frost — but only if you keep removing spent flowers. Once a bloom fades and the plant begins forming a seed pod, it shifts energy toward seed production and slows new flower development. Deadhead consistently, cutting just above the next set of leaves or a visible bud junction. Use clean, sharp pruners and wipe the blades between plants with a 10% bleach solution or rubbing alcohol to avoid spreading disease.
For cut flowers, harvest in the morning when temperatures are cool, cut stems at a 45-degree angle, and immediately plunge them into cool water. Dahlias cut in tight bud rarely open properly — the sweet spot is when the bloom is about halfway to three-quarters open. In a vase with clean water changed every two days, most dahlia varieties last 5–8 days.
🌿 What the Pros Know
Professional dahlia growers condition cut stems by re-cutting them under water and letting them stand in a bucket of cold water in a dark, cool space (around 40°F) for at least two hours before arranging. This “hardening off” process dramatically increases vase life — often by two to three days compared to flowers placed directly in a room-temperature vase. A floral cooler works best, but the back of a refrigerator with the produce drawer adjusted will do the job in a pinch.
Pest and Disease Management
The most common dahlia pests in the US are aphids, spider mites, thrips, earwigs, and slugs. A strong blast of water from a hose knocks aphids off stems effectively; insecticidal soap handles heavier infestations. Spider mites thrive in hot, dry conditions — consistent watering and good airflow help prevent them. Slugs are most damaging to newly emerged sprouts; diatomaceous earth or iron phosphate slug bait applied around the base of plants provides effective control.
Powdery mildew — a white, chalky coating on leaves — is the most widespread fungal disease affecting dahlias, particularly in late summer when nights turn cool and humid. It’s rarely fatal but weakens plants and reduces bloom production. Prevent it with proper plant spacing, bottom watering, and good airflow. If it appears, a spray of 1 tablespoon baking soda dissolved in 1 gallon of water with a few drops of dish soap offers modest control; neem oil or sulfur-based fungicides are more effective for established infections.
How to Overwinter Dahlia Tubers Successfully
For gardeners in Zones 3–7, overwintering is what separates dahlias that survive one season from a tuber collection that grows and improves year after year. Done correctly, a single tuber purchased for $8 can multiply into a clump of 8–12 divisions within two growing seasons — a substantial saving and, for many growers, a deeply satisfying process.
When and How to Dig Dahlia Tubers
Wait until after the first killing frost blackens the foliage — typically October through early November across most of the US — but don’t delay more than a few days after frost hits. The frost kills the above-ground growth and signals the plant to finish transferring energy into the tubers, but prolonged freezing temperatures will damage the tubers themselves.
- Cut stems to 4–6 inches above ground. Leave a short stub — it makes handling easier and helps you identify the crown orientation later.
- Loosen the soil in a circle 12 inches out from the stem using a garden fork. Work carefully — tubers spread wider than beginners expect and are surprisingly easy to slice through with a spade.
- Lift the entire clump by levering under it gently with the fork. The clump will be significantly larger than what you planted in spring.
- Rinse off soil with a gentle stream of water. Inspect for rot or damage — any mushy, discolored tubers should be removed immediately. They will spread rot to healthy tubers in storage.
- Allow tubers to cure for 1–3 days in a cool, dry location out of direct sunlight. This brief drying period toughens the skin and reduces moisture, both of which reduce rot risk during storage.
Dividing Dahlia Tubers: The Critical Step Most Beginners Skip
You can store the entire clump undivided and divide in spring, or divide immediately after digging in fall. Both approaches work, but fall division allows you to inspect tubers more carefully when they’re fresh and discard any that are damaged before they contaminate the rest during storage. Spring division lets you see where the eyes have developed, which makes correct cuts easier for beginners.
To divide: look at the crown — the thick, knobby central structure where all the tubers attach. Eyes are found at the neck of each tuber, right where it connects to the crown. Use a sharp, clean knife to cut through the crown so that each division has at least one tuber with at least one visible eye attached to a piece of crown. A tuber with no crown attachment — even a perfectly healthy, fat tuber — cannot sprout. This is the most important concept in dahlia division.
Storage Methods and Conditions
Successful storage requires three things: cool temperatures (35–50°F), darkness, and moderate humidity. Too warm and tubers dehydrate or rot; too cold (below 32°F) and they freeze and die. Too dry and they shrivel; too moist and they rot.
Common storage methods include:
- Cardboard boxes with peat moss or vermiculite: Layer tubers between moistened (not wet) peat or vermiculite. This is the most widely used method among serious dahlia growers and offers good humidity control.
- Milk crates or mesh bags: Allow maximum airflow, which reduces mold. Works best in humid climates where desiccation is less of a concern.
- Paper bags or newspaper wrapping: A simple, low-cost option. Slightly higher risk of desiccation in very dry storage spaces; check monthly.
- Plastic bins with ventilation holes: Convenient and stackable. Drill several 1/4-inch holes in the lid for airflow.
Regardless of method, check tubers every 3–4 weeks throughout winter. Remove any that show soft spots or mold immediately. If tubers are shriveling, lightly mist the storage medium. Ideal storage locations in a typical US home include an unheated (but insulated) garage, a root cellar, or a basement corner away from the furnace — aim for a consistent 40–45°F.
Inspecting and Preparing Stored Tubers for Spring Replanting
In late winter — about 4–6 weeks before your intended planting date — bring stored tubers into a warmer area and inspect them. Healthy tubers will have plump, firm bodies. Eyes may now be more visible than they were in fall, which makes spring division easier if you stored clumps whole. Lightly brush off any remaining peat or vermiculite, look for rot one final time, and prepare your divisions as described above. If you haven’t divided yet, this is the moment to do it.
Growing Dahlias in Containers: A Practical Option for Small Spaces
Dahlias grow well in containers, with some adjustments. Use a pot that’s at least 12 inches wide and 12 inches deep for medium varieties; large dinner-plate dahlias need pots 18–24 inches in diameter to accommodate their root systems. Drainage is critical — the pot must have large drainage holes, and terra cotta or fabric grow bags are preferable to plastic for their better moisture regulation.
Container-grown dahlias dry out much faster than in-ground plants and may need watering daily during peak summer heat. Feed them more frequently than in-ground plants — every 2 weeks rather than every 3–4 weeks — because nutrients leach out with frequent watering. Use a well-draining potting mix rather than garden soil, which compacts in containers and restricts root development. At the end of the season, unpot the entire root ball, extract the tubers, and store them using the same methods described above.
Common Dahlia Problems and How to Fix Them
Tubers Rotting in the Ground
The usual culprits are cold soil at planting, overwatering before sprouts emerge, or poorly drained soil. If you lose tubers repeatedly, raise your beds by 4–6 inches to improve drainage, wait an extra week or two before planting to allow soil to warm, and resist watering until you see green growth above ground.
Plants Are Tall but Producing No Flowers
This is almost always a nitrogen problem — too much of it. Excess nitrogen drives leafy growth at the expense of blooms. Switch to a low-nitrogen or high-potassium fertilizer and withhold all feeding for 3–4 weeks. Insufficient sunlight is the other common cause: if your plants are getting fewer than 6 hours of direct sun, no amount of fertilizer will produce good flowers.
Stems Collapsing or Flopping Over
Large-flowered dahlias have heavy blooms on relatively hollow stems — staking is non-negotiable for any variety growing over 3 feet tall. Bamboo canes, metal tomato cages, or purpose-made dahlia cages all work well. Tie stems loosely with soft garden twine or nylon stockings; tight ties can cut into stems as they grow. Plant your stakes at the time of planting, before any roots develop around the stake zone.
Leaves Yellowing Mid-Season
Yellow leaves in midsummer often indicate a magnesium deficiency, particularly in sandy soils. A foliar spray of Epsom salt (1 tablespoon per gallon of water, applied every two weeks) can correct this quickly. Persistent yellowing despite fertilization may indicate a soil pH problem that’s locking up nutrients — retest your soil and adjust if necessary.
Frequently Asked Questions About Growing Dahlias
How deep should I plant dahlia tubers?
Plant dahlia tubers 4–6 inches deep, with the eye — the small growth node at the neck of the tuber — pointing upward. In heavier clay soils, plant shallower (3–4 inches) to avoid waterlogging; in light sandy soils, slightly deeper (6–7 inches) helps retain moisture. Cover with just 2–3 inches of soil initially and backfill as the sprout grows.
When do dahlias bloom?
Most dahlia varieties begin blooming 8–12 weeks after planting. In the US, tubers planted in May typically flower in late July or August. Blooming continues until the first hard frost. Because dahlias bloom most heavily in late summer and early fall — when many other garden flowers are winding down — they’re particularly valuable for extending the cutting garden season through October.
Can I leave dahlia tubers in the ground over winter?
In USDA Zones 8–11, yes — dahlias can overwinter in the ground without digging. In Zones 3–7, the answer is generally no; freezing ground temperatures will kill the tubers. Some Zone 7 gardeners successfully overwinter tubers in the ground with 4–6 inches of heavy mulch (straw or shredded leaves), but results are inconsistent and depend heavily on local microclimate. Digging and storing is more reliable in borderline zones.
Why won’t my dahlia tubers sprout?
The three most common reasons are: (1) the tuber has no viable eye — check the neck for any growth nodes before assuming failure; (2) soil temperature is too cold — tubers won’t sprout reliably below 60°F; or (3) the tuber has rotted from overwatering or poor drainage. If a tuber feels mushy or smells fermented, it’s gone. Firm, plump tubers that haven’t sprouted after 3–4 weeks in warm soil simply may need more time — give them another two weeks before replacing.
How do I get more tubers from my dahlia plants?
Each dahlia tuber you plant will multiply over the course of one growing season, typically producing a clump of 4–12 new tubers by fall. To maximize tuber production, allow plants to grow vigorously, feed regularly, and avoid cutting stems too short — more foliage means more photosynthesis and larger tuber development. Dividing the clump each year and replanting only the best divisions keeps your stock vigorous and disease-free. Within 2–3 seasons, a single purchased tuber can easily yield 20–30 division-ready tubers.
Building Your Dahlia Collection Year After Year
The most exciting thing about committing to a serious dahlia growing practice is that it compounds. Your first season teaches you the basics of planting and care. Your second season, with a multiplied tuber stock and a full season of experience behind you, produces noticeably better results. By your third year, you’ll be dividing clumps in fall, gifting tubers to neighbors, experimenting with new varieties, and wondering why you ever thought these plants were difficult.
Start with three to five varieties your first year — a mix of sizes, colors, and bloom forms. Keep notes: when you planted, when each variety first bloomed, how tall it grew, which ones performed best in your specific conditions. That record becomes more valuable every season. Local dahlia societies (the American Dahlia Society has chapters in most US states) host shows, tuber sales, and growing clinics that accelerate the learning curve dramatically. Many offer free or discounted tubers to new members.
Order your tubers in January or February for the best variety selection — the finest cultivars from top specialty growers sell out months before spring planting season arrives. Set a calendar reminder now, prepare your beds before the ground freezes, and come spring, you’ll be ready to grow the most spectacular cutting garden on your block.